
Create your first coloring book, step by step
The complete wizard walkthrough: idea, settings, illustration ideas, generation, layout, metadata, cover and export.
Every book in Coloring Books Maker is built in the same 8-step wizard. This guide walks through each step using a real project — the same flow that produced every showcase book on our landing page. Your progress saves automatically after every step.
Step 1 — Book Idea
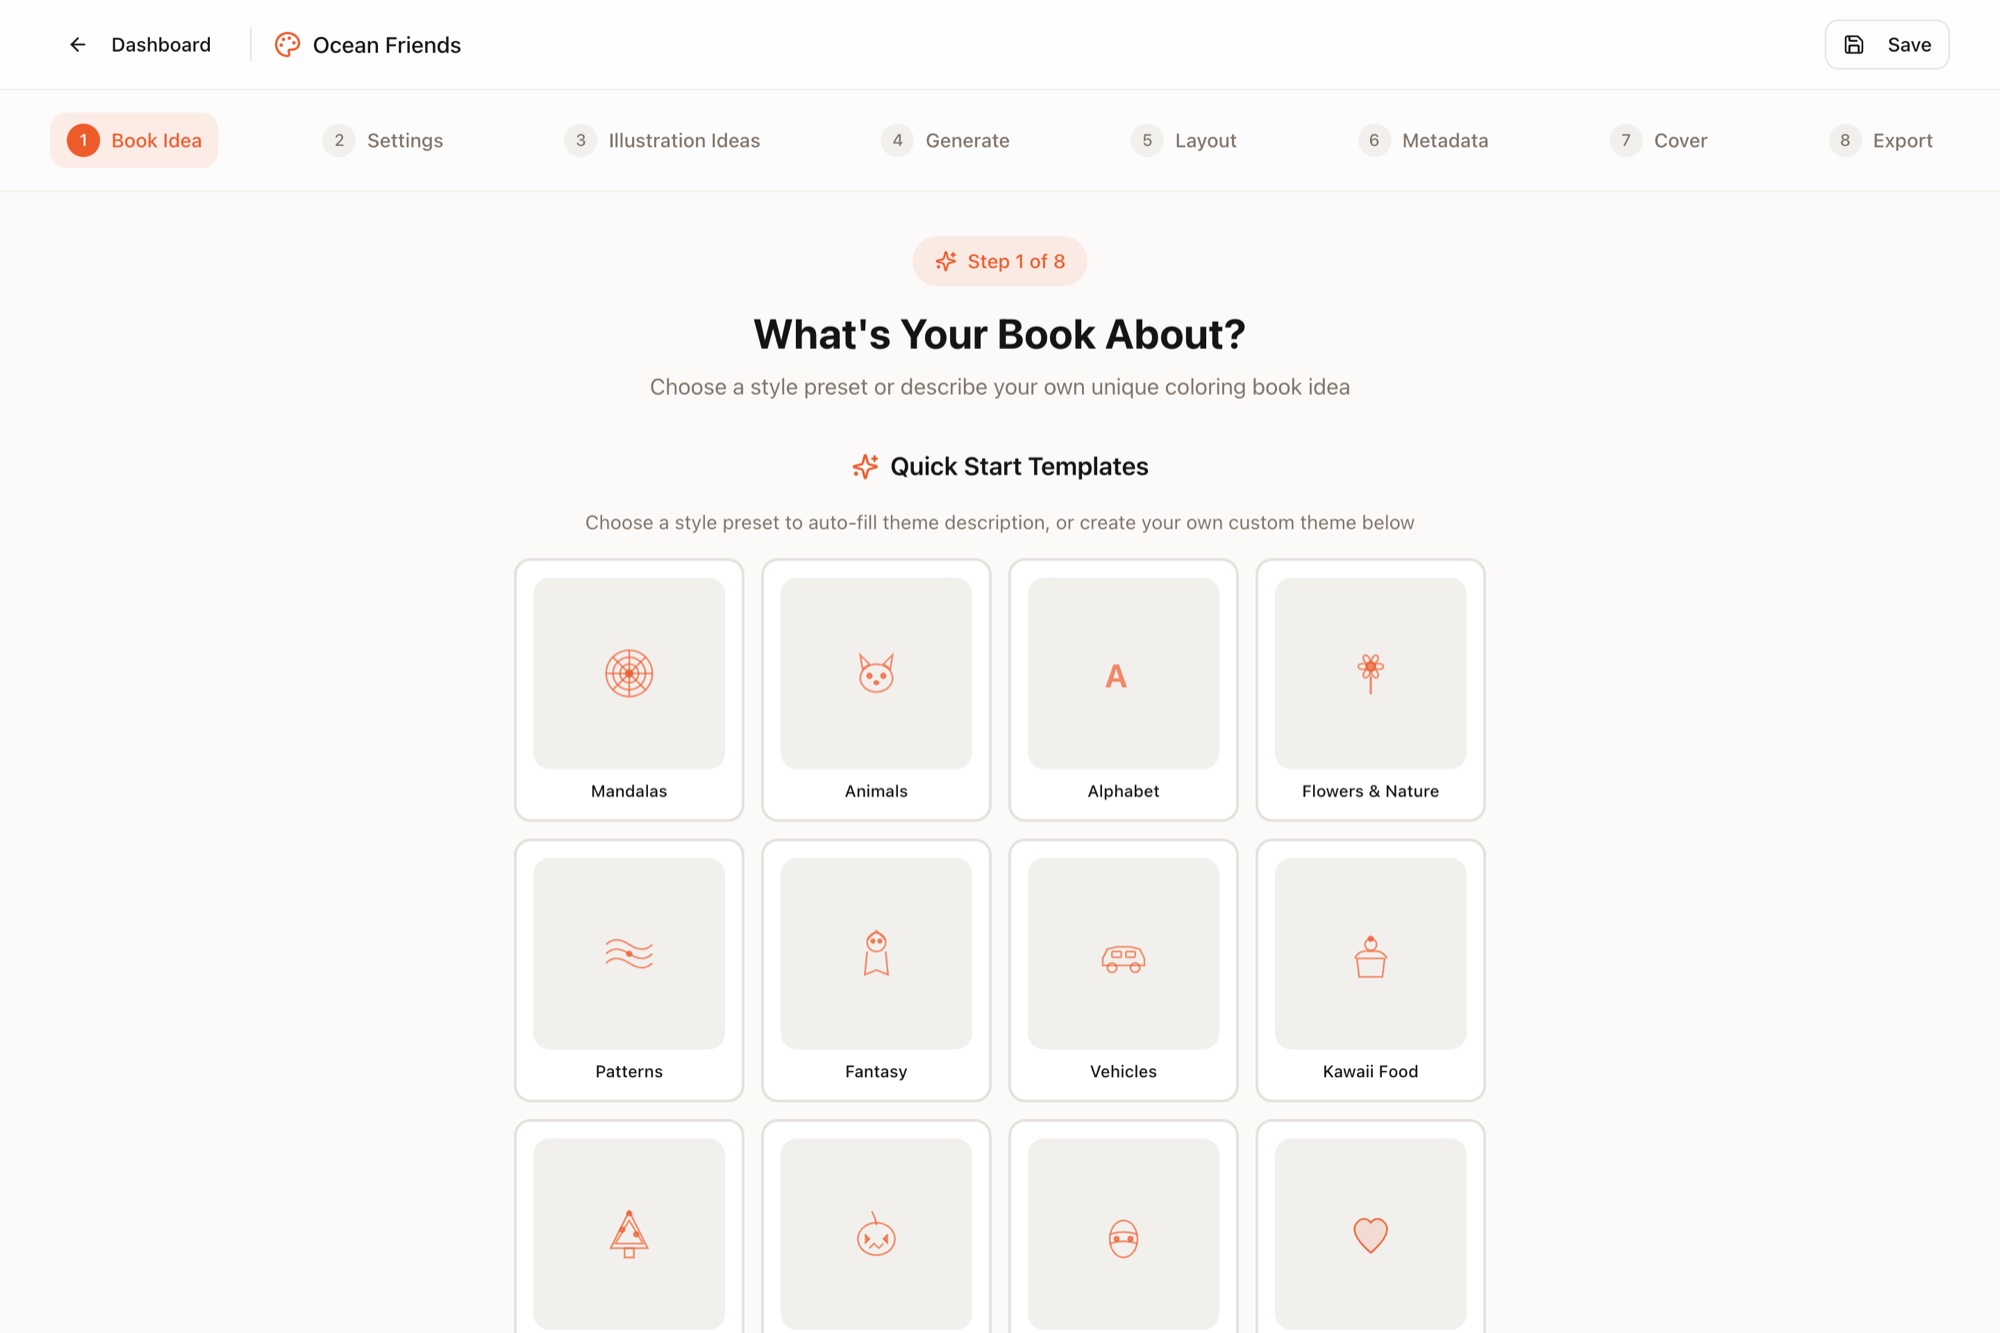
Describe your book in plain language: the subject, the mood, and who it's for. One good paragraph is enough — mention the characters or scenes you want, the drawing style, and the age group. You can also pick one of the theme presets (Mandalas, Animals, Kawaii Food, Christmas and more) as a starting point and edit from there.
Step 2 — Settings
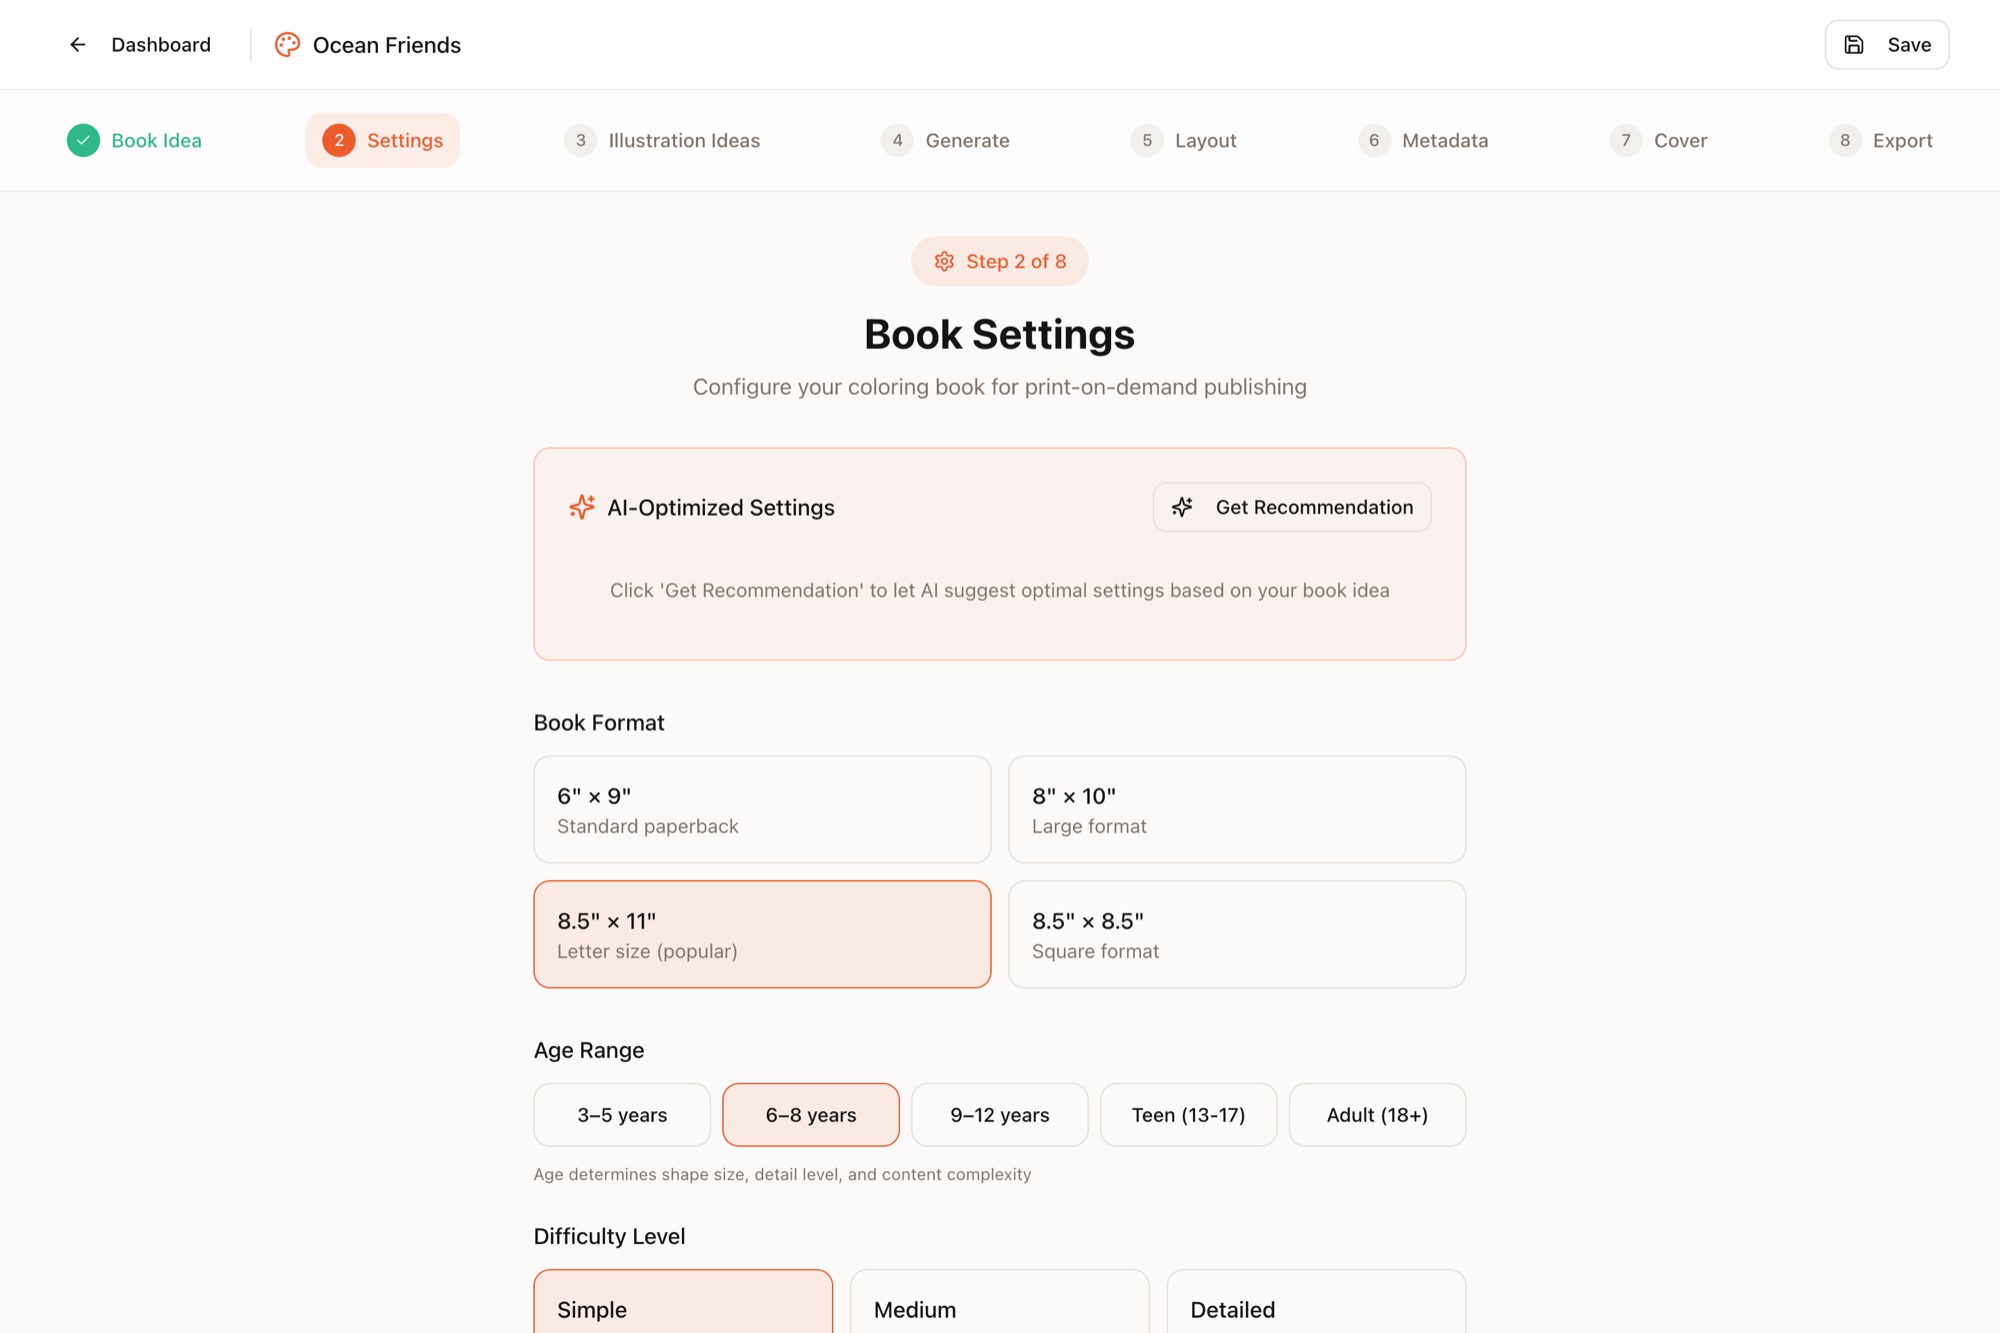
Here you lock in the physical shape of the book: trim size (6″×9″, 8″×10″, 8.5″×11″ or the 8.5″×8.5″ square — see Book formats and trim sizes), the age range, the number of illustrations, and line-art complexity. The age range quietly adjusts line weight and detail density so pages match small hands or patient adults.
Step 3 — Illustration Ideas
The AI proposes one titled scene per page — for a 10-page ocean book you'd get ideas like “Happy Dolphin and Friends” or “Turtle's Coral Garden”. Every idea is editable: rewrite the description, delete ones you don't like, add your own, or drag to reorder. Nothing has cost credits yet — this is the cheapest moment to change direction.
Step 4 — Generate
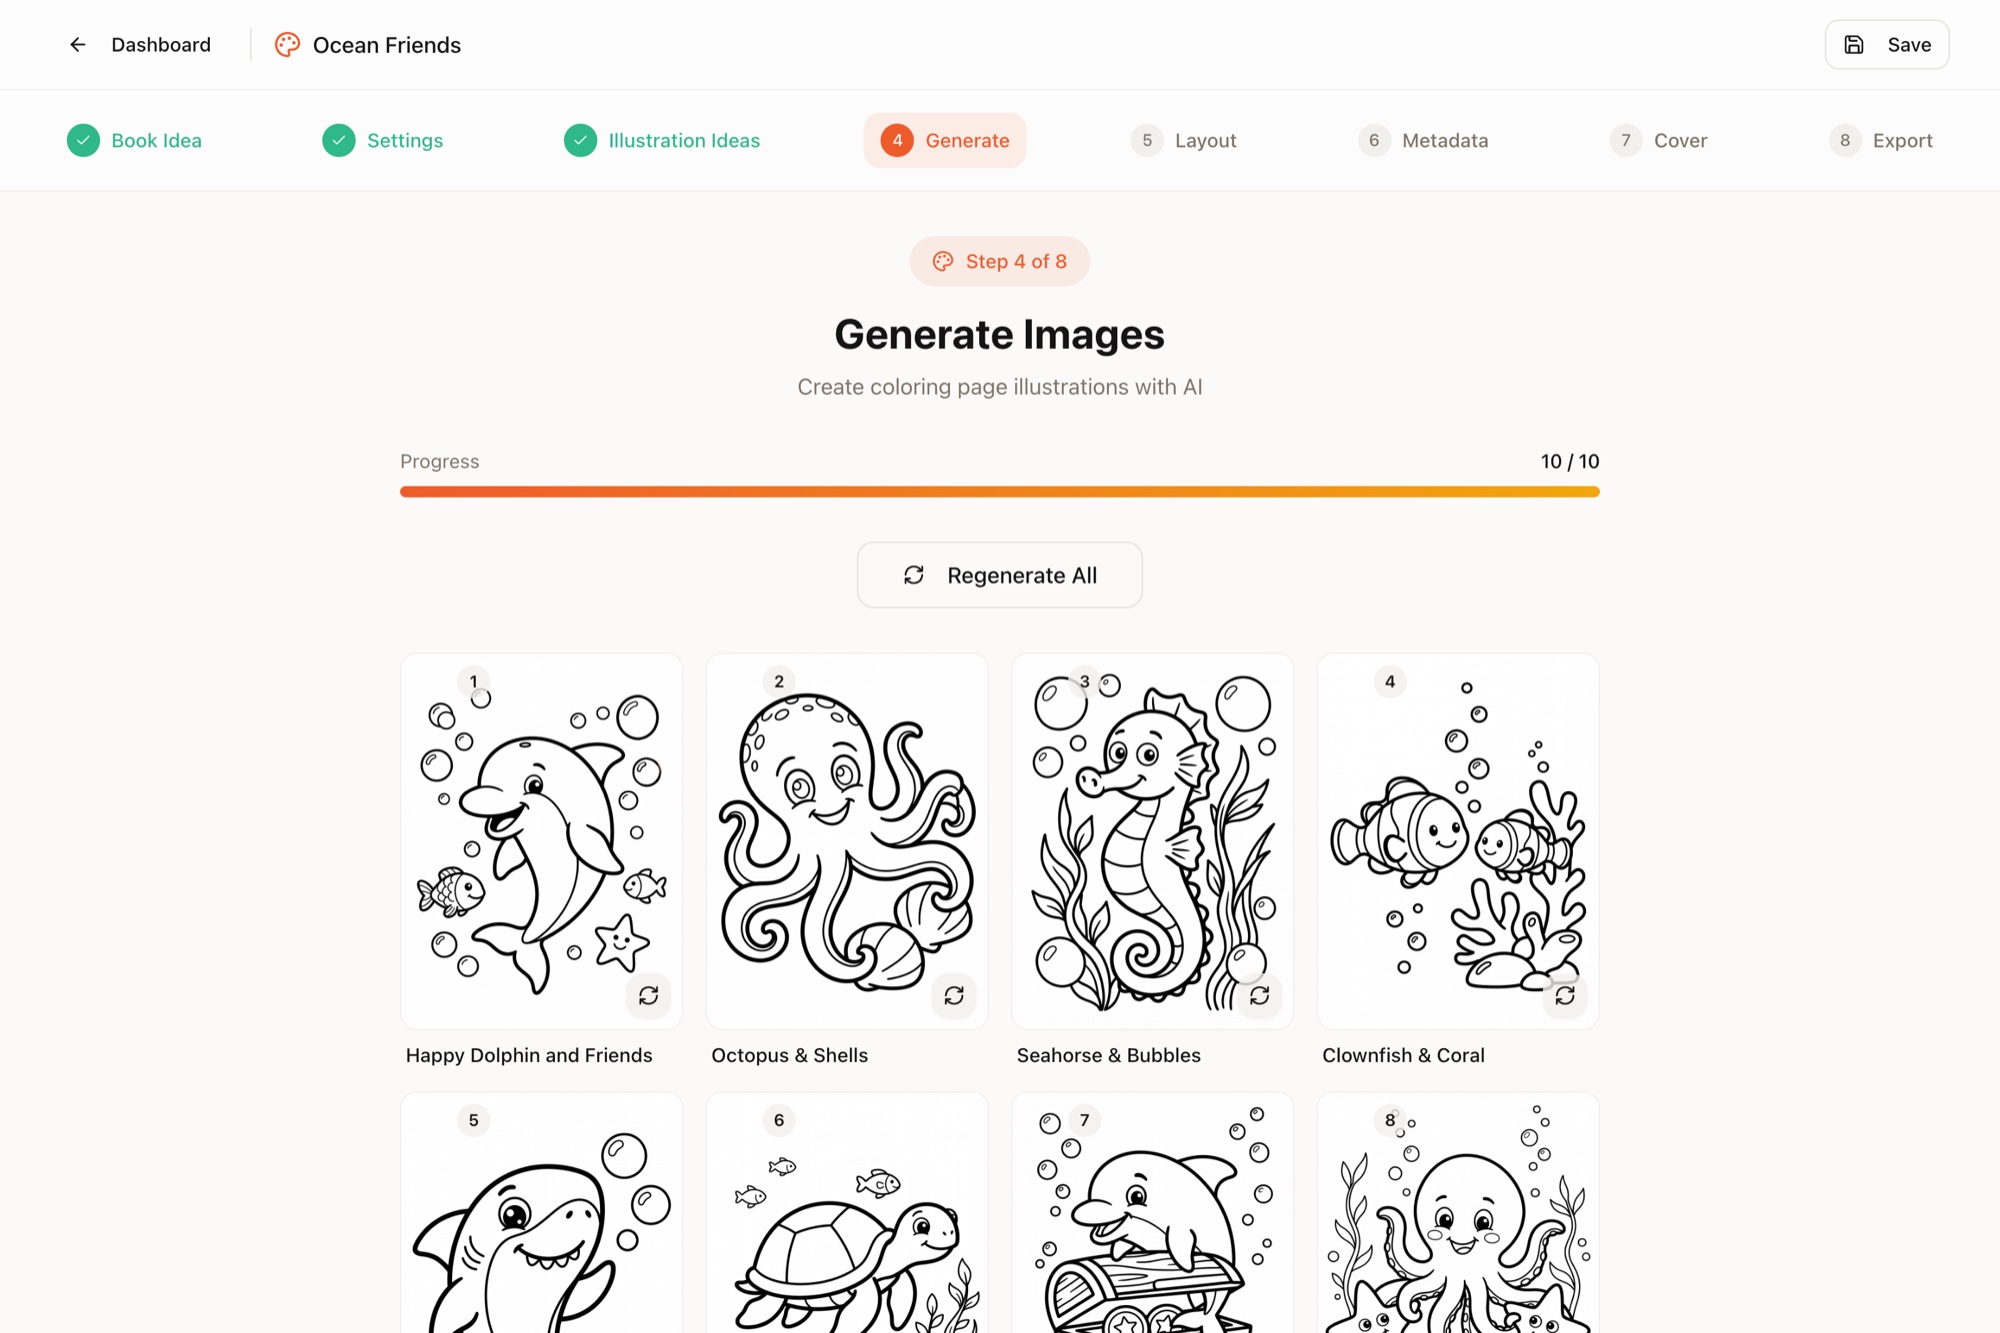
One click generates all approved ideas in a consistent style at print resolution. Each illustration costs 1 credit; regenerating any image you dislike is free, so keep pressing regenerate until a page feels right.
Step 5 — Layout
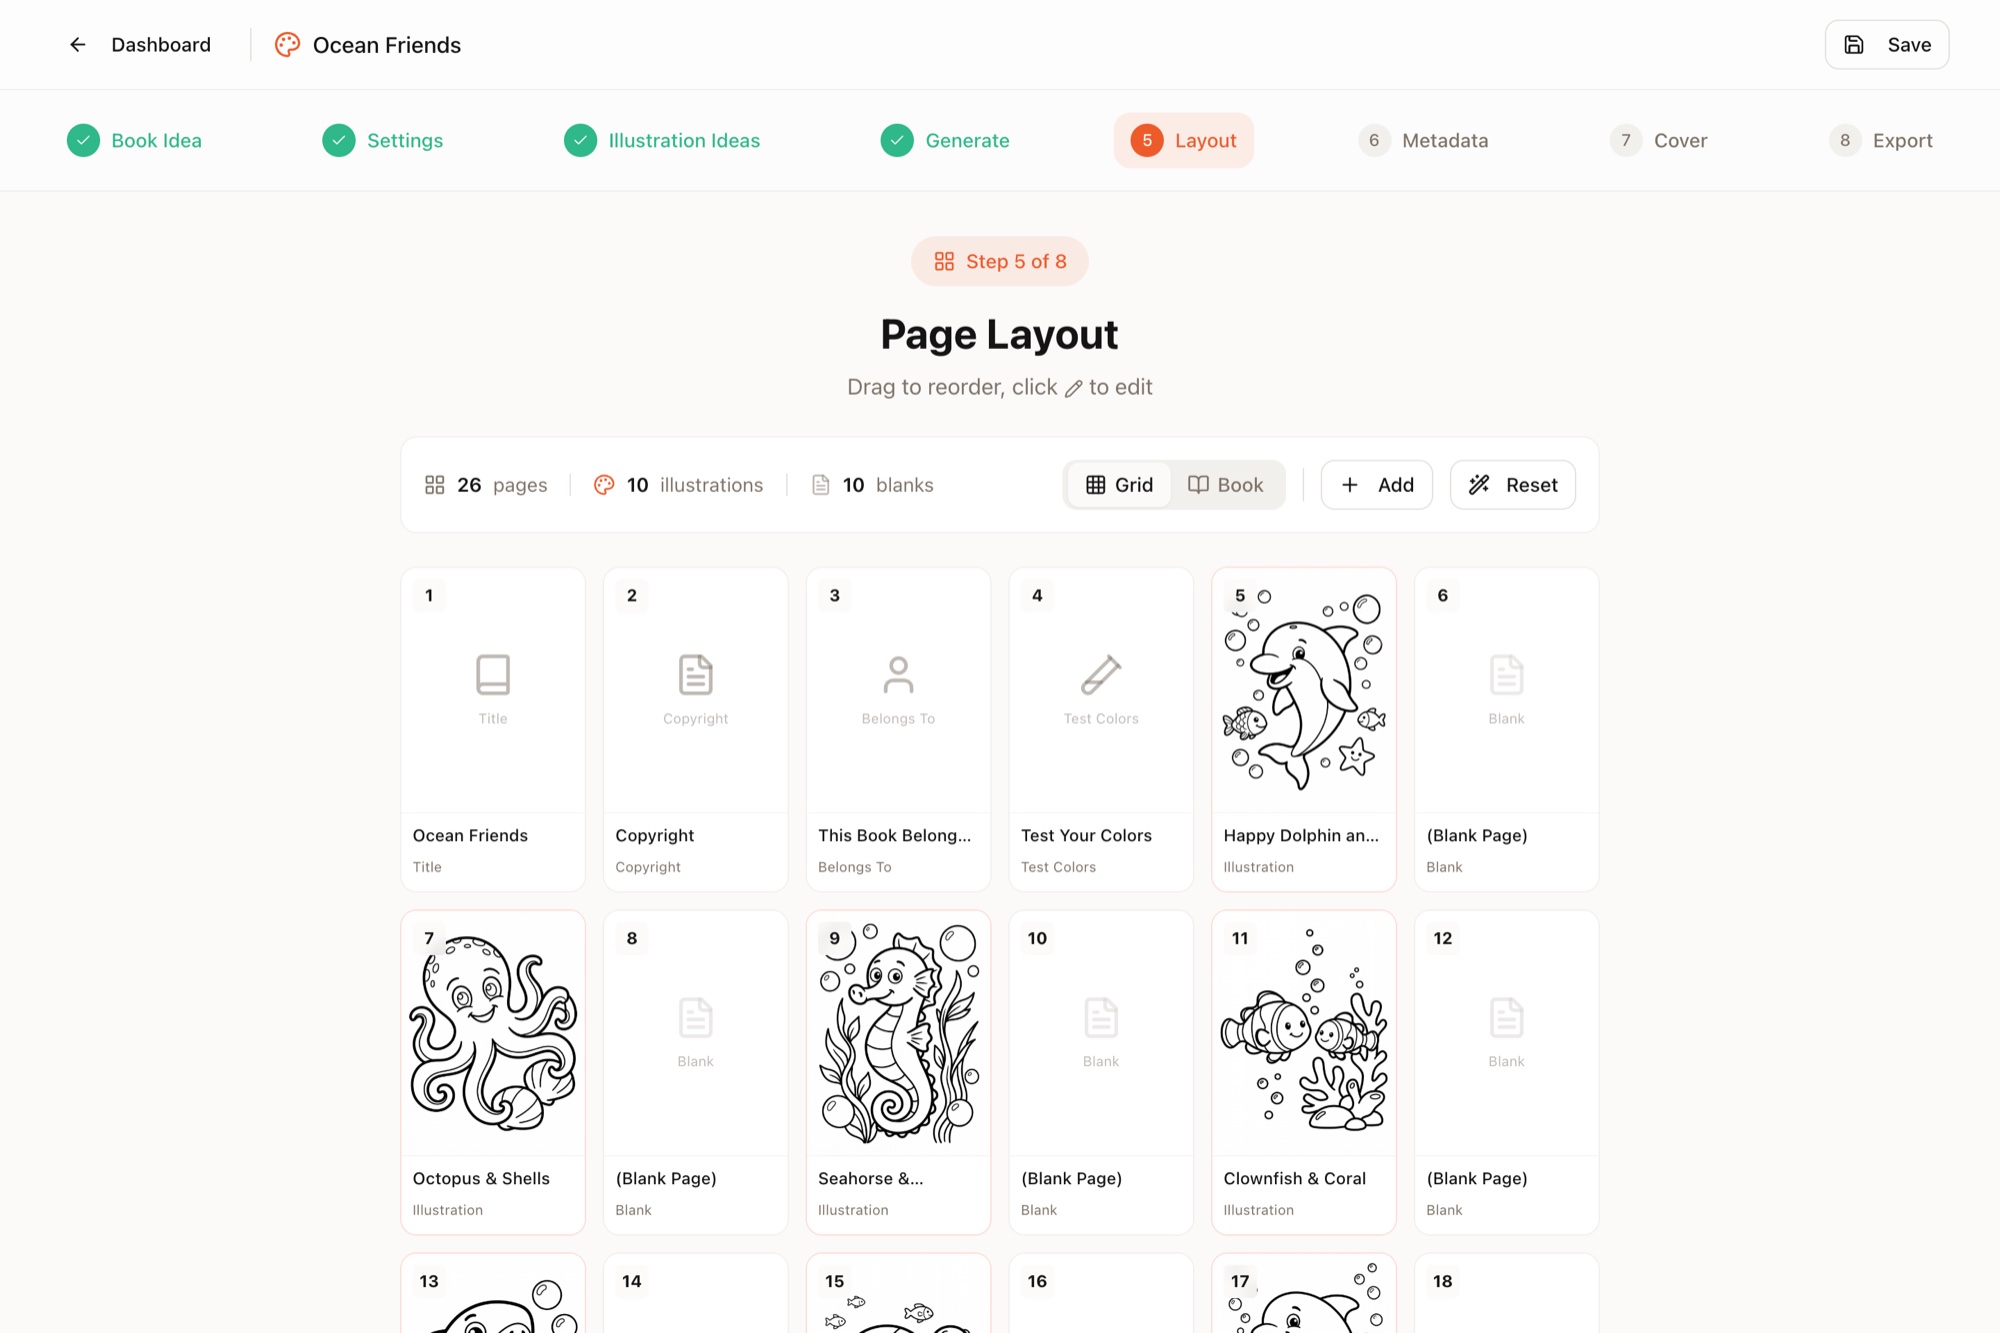
The app assembles the full manuscript: title page, copyright page, a “test your colors” page, your illustrations (each followed by a blank back so markers never bleed through), and closing pages. Drag pages to reorder, remove templates you don't want, or open any page in the editor (Editing pages).
Step 6 — Metadata
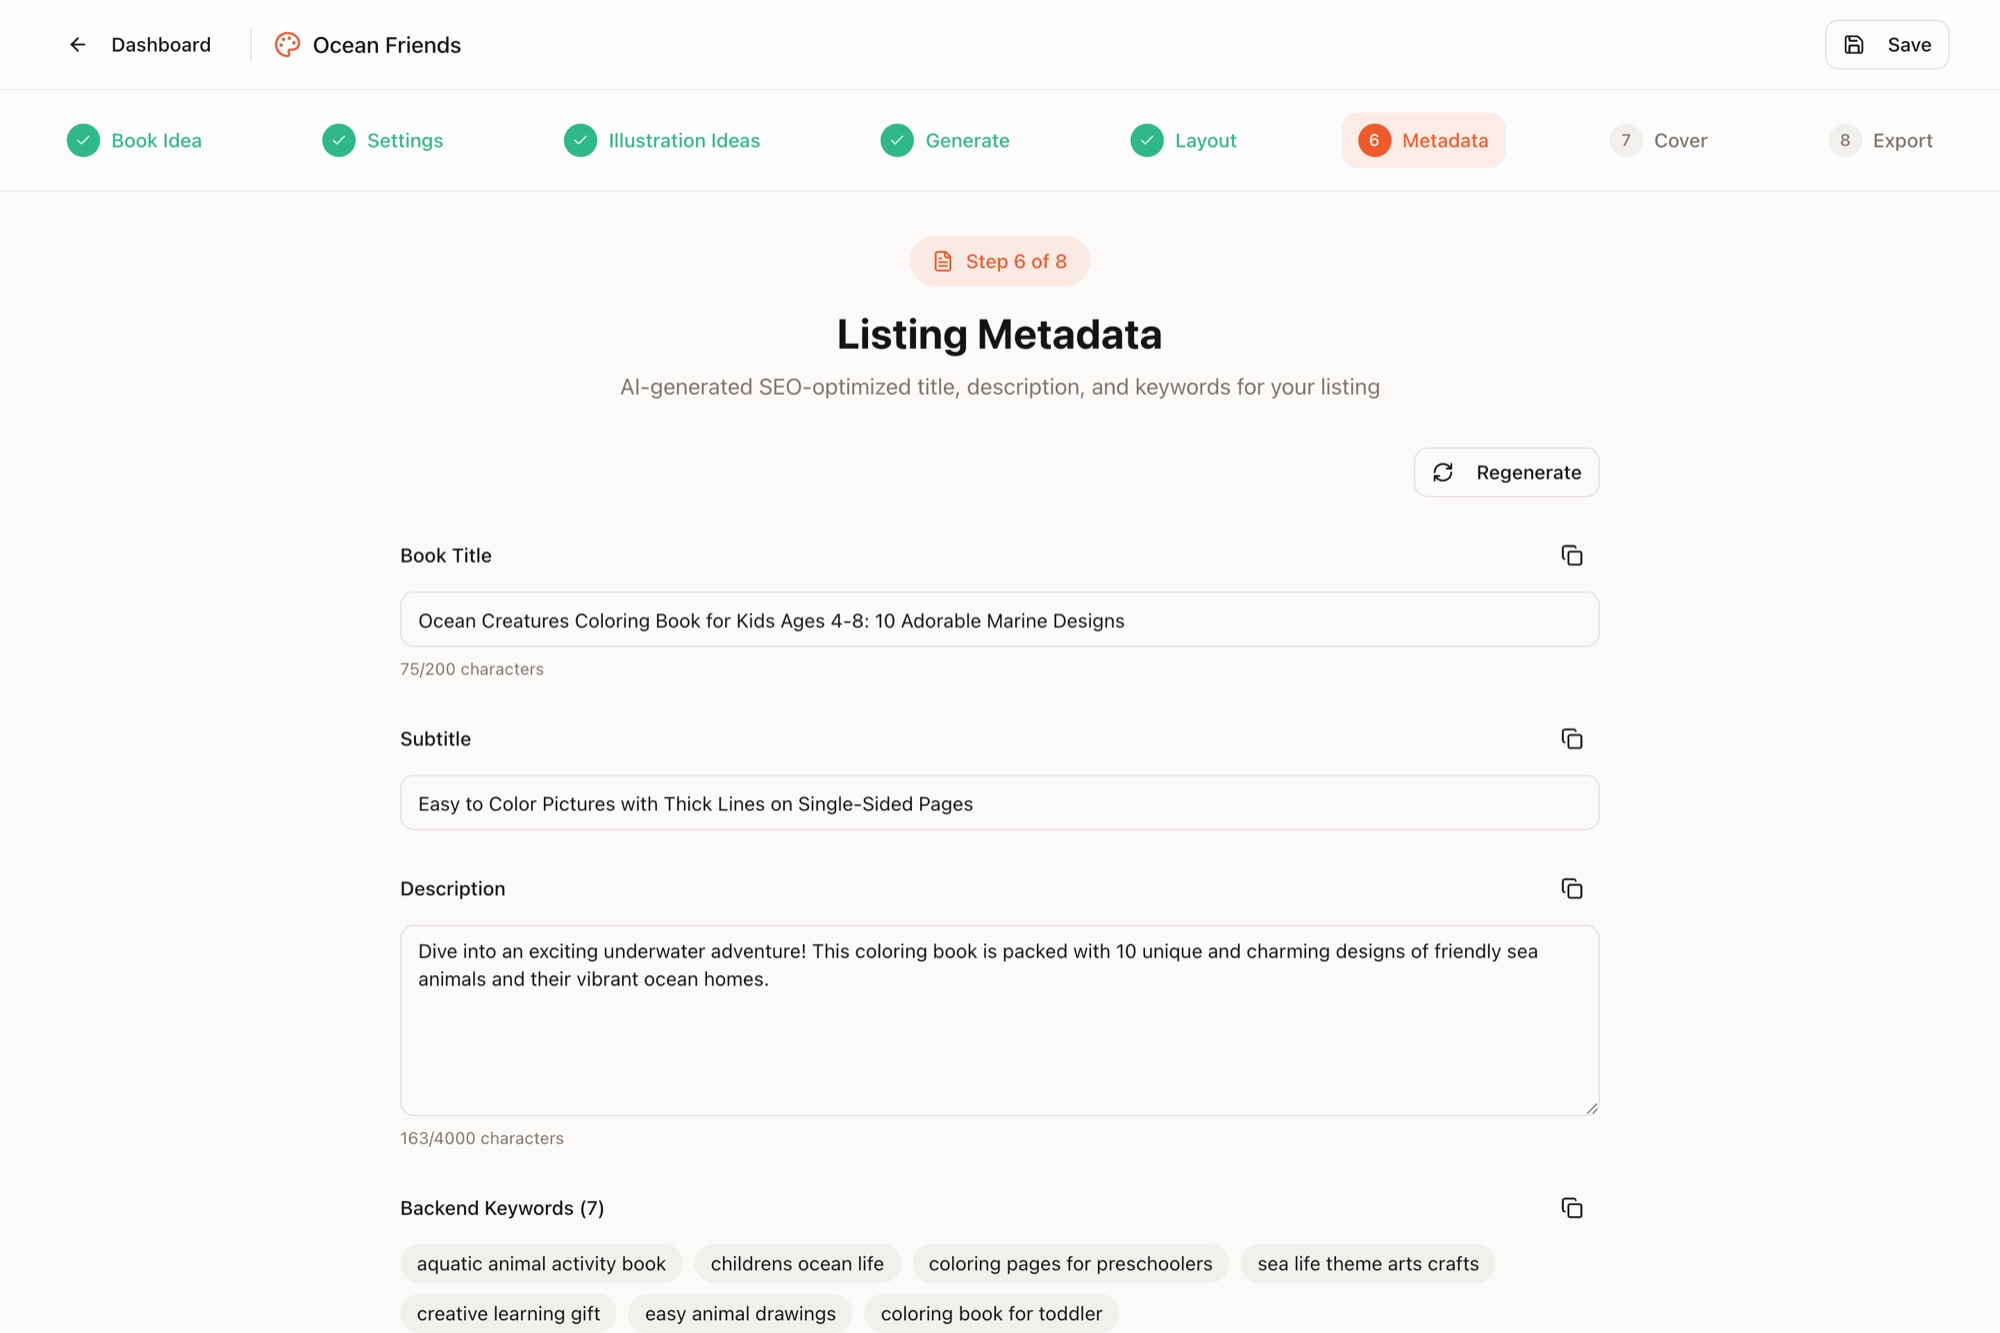
For self-publishers: the AI drafts a listing title, subtitle, description, categories and backend keywords tuned for marketplace search. Copy what you need — this step is optional and costs nothing.
Step 7 — Cover
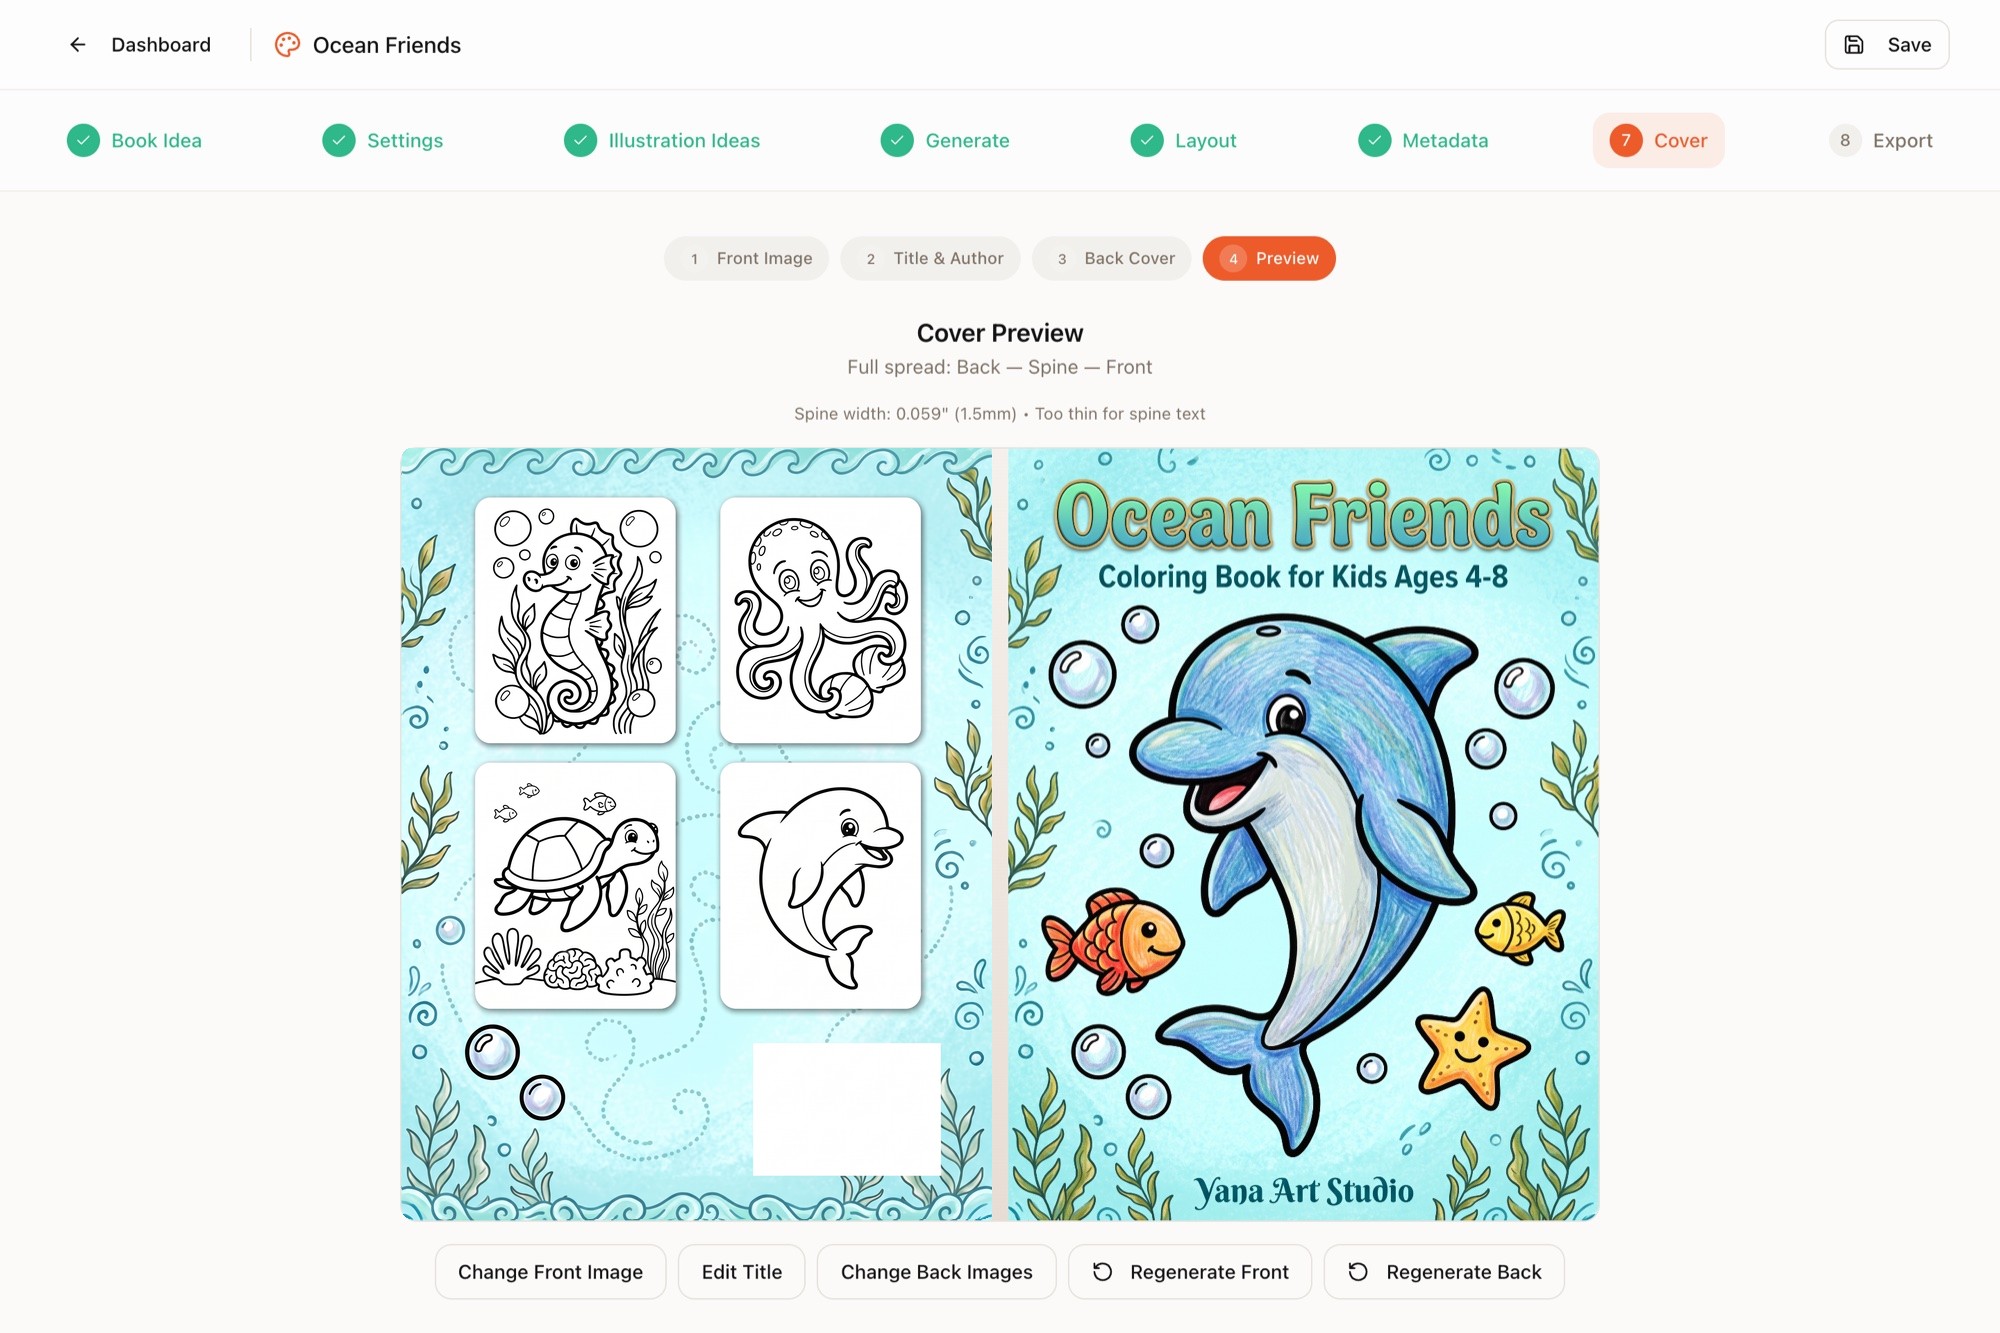
Generate a colorized front cover that matches your interior style, plus a coordinated back cover (1 credit each). The app then builds the complete wraparound spread — back, spine, front — sized to your exact page count and paper. Details in Designing your cover.
Step 8 — Export
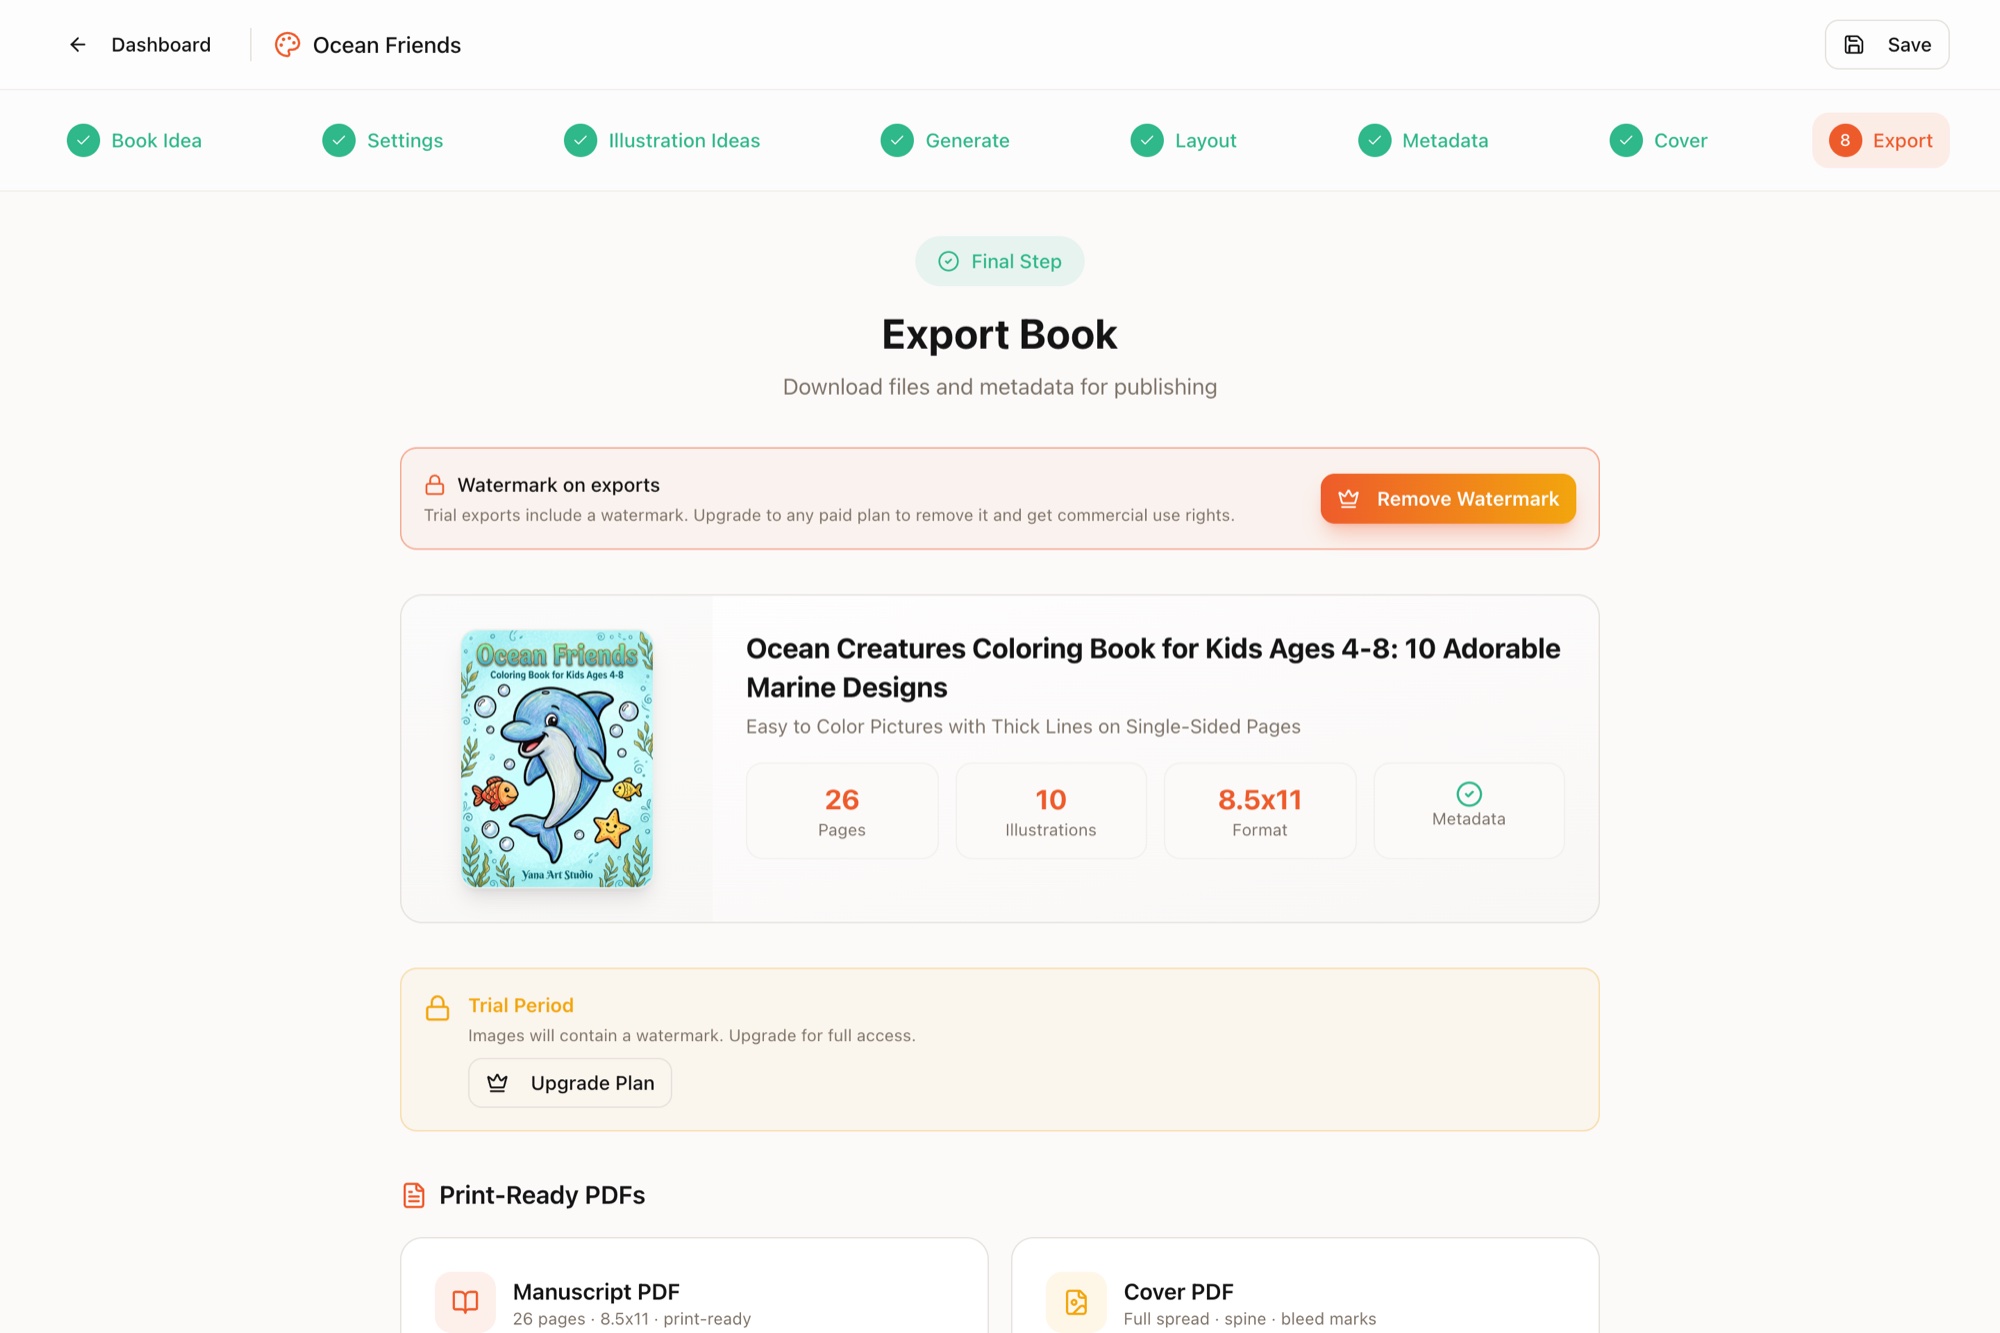
Download two files: the interior manuscript PDF (300 DPI, correct margins) and the wraparound cover PDF. Both follow standard print-on-demand specs and upload to KDP as-is — see Exporting print-ready PDFs for what to check before you publish.
How much does a book cost in credits?
- 10-illustration book: 10 credits + 2 for covers = 12 credits
- 40-illustration book: 40 credits + 2 for covers = 42 credits
- Layouts, edits, regenerations, metadata and exports: 0 credits